This post is part of a series:
- Jenkins.NET
- Jenkins.NET Plugins
- Setup Jenkins.NET
- Setting up your first job
- Your first build
- Breaking the build
- Diagnosing and fixing a broken build
- Monitoring your build
- Running your tests
- Code Analysis
- Security
- Active Directory Security
Introduction
This is the first in a series of posts which I’ll be writing on using Jenkins to build .NET solutions. These posts will be as detailed as possible, probably too detailed in places.
Installing Jenkins
NOTE: Jenkins used to be known as ‘Hudson’ but when Oracle bought Sun there was a fall out between the then ‘Hudson’ developers and Oracle so they decided to fork the project and rename themselves Jenkins. Full details
I’m going to install and setup Jenkins on a freshly minted Windows 7 virtual machine although this process should work fine on other versions of Windows.
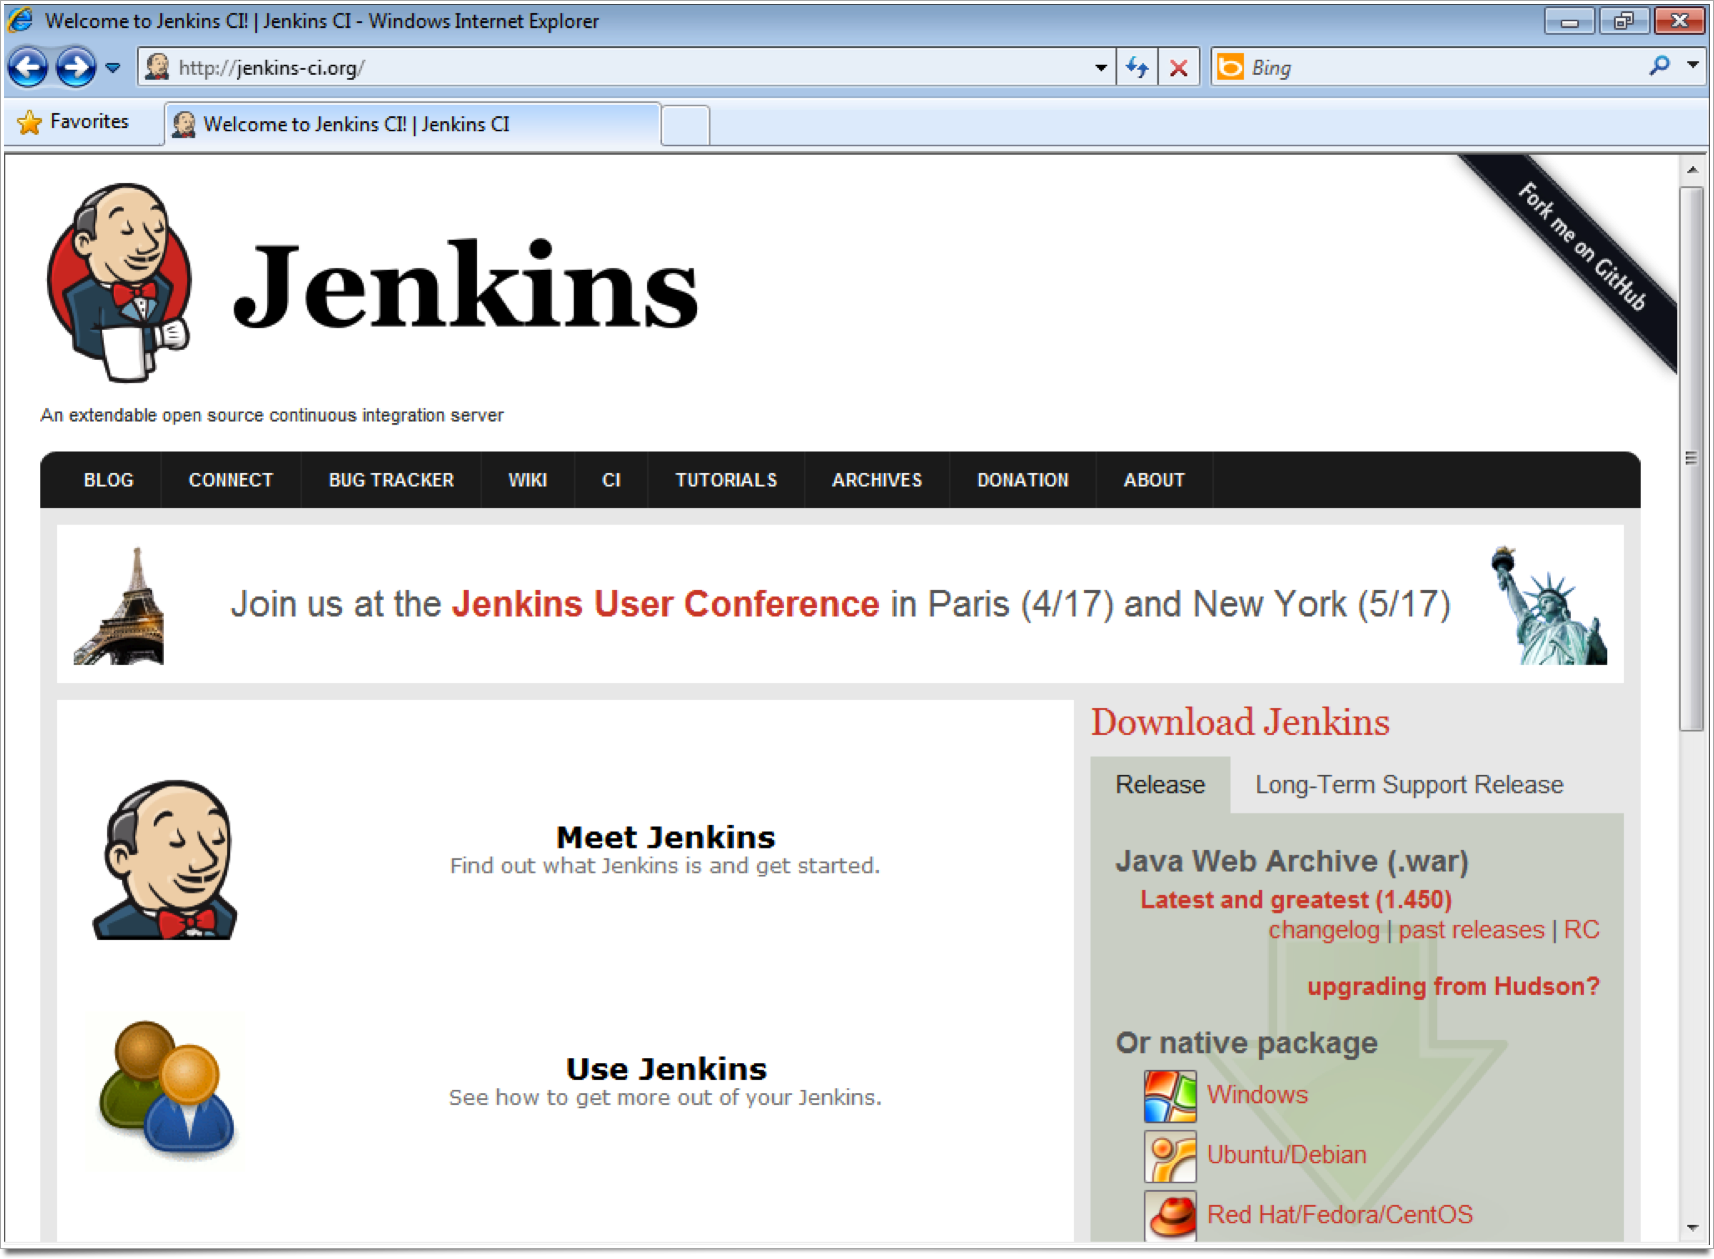
Go to the Jenkins home page: http://jenkins-ci.org/
Download
Rather than the generic .war file we’ll download the Windows native package, which saves as a few steps during installation. The latest windows package is available here:
http://mirrors.jenkins-ci.org/windows/latest
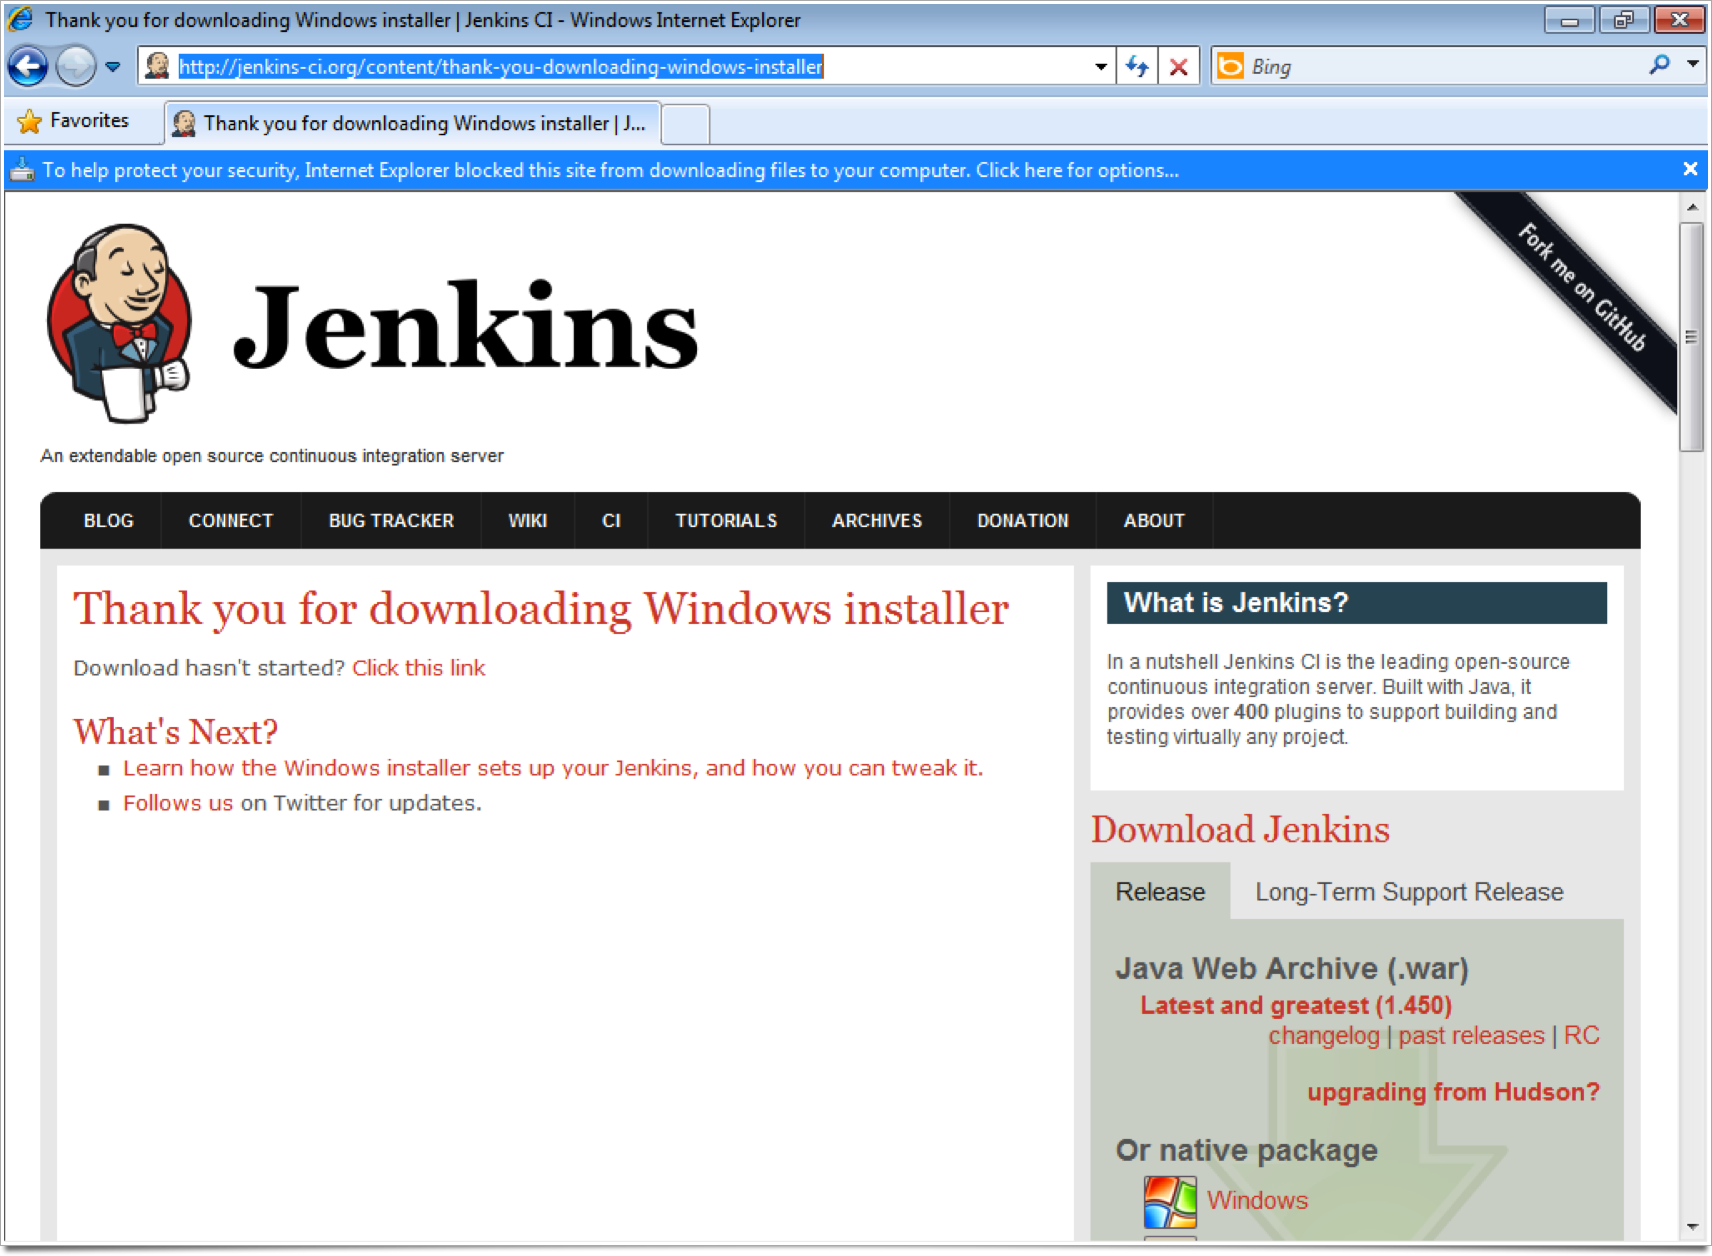
I’m using Internet Explorer here, which by default blocks the installer from downloading. Notice the warning message shown at the top of the browser window.

Click the message bar to get the download options context menu.

Select the Download File… menu option. You will now see the File Download dialog.
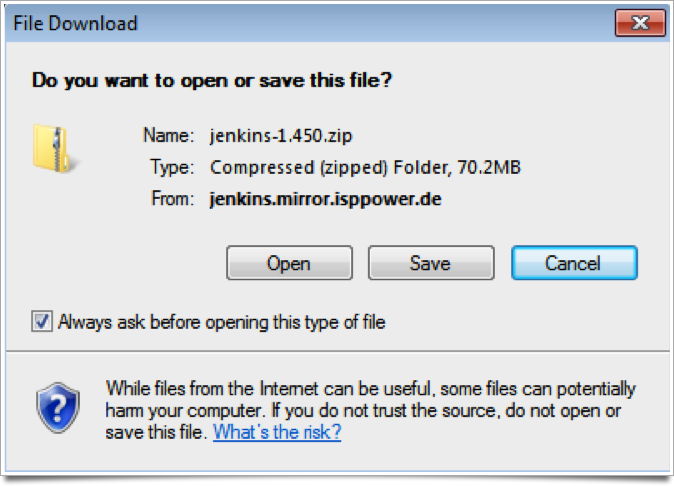
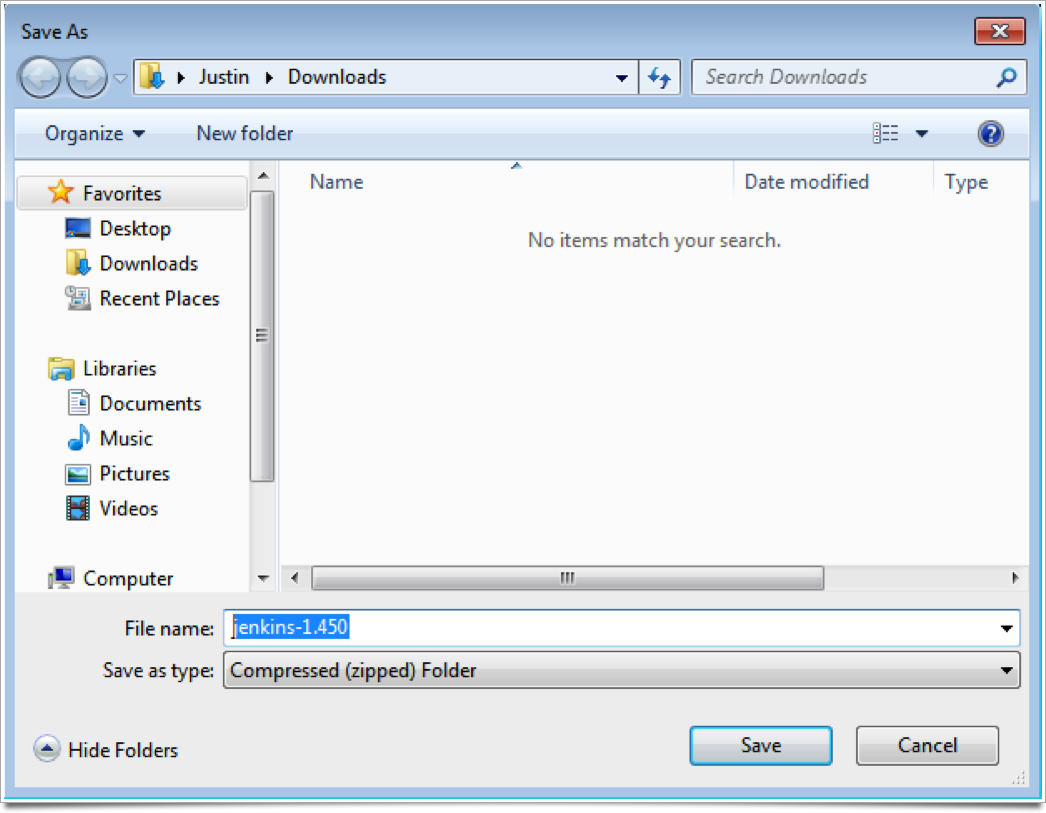
Click the Save button to download the installation zip file to your download folder. You will now see the Save As dialog again click the Save button to actually download the file.
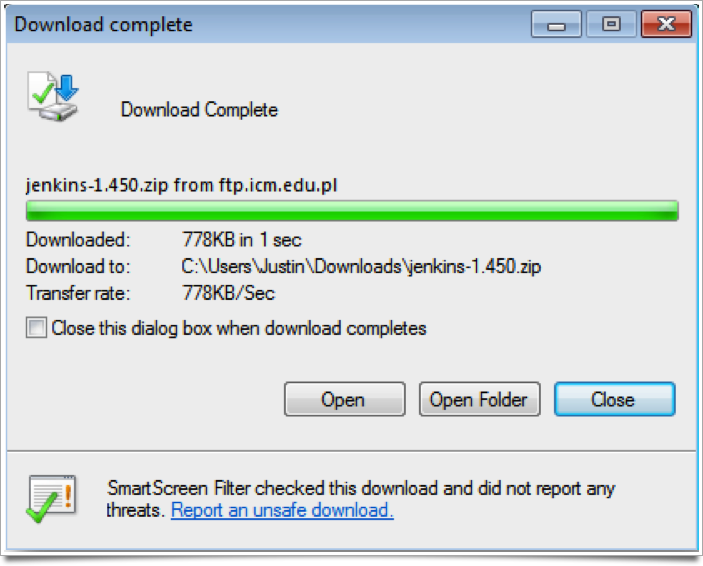
In a short while you will see the Download complete dialog. Click the Open button to open the zipped installation file.
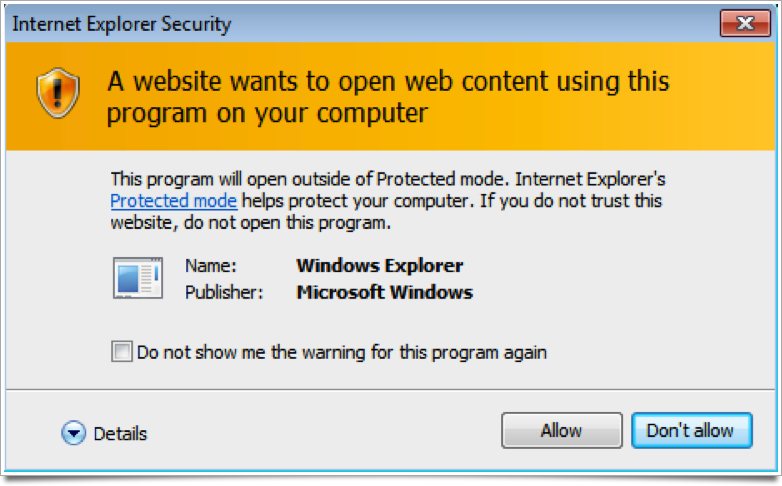
Internet Explorer Security may kick in and ask if you want to allow this operation. Click the Allow button to open the zip file.
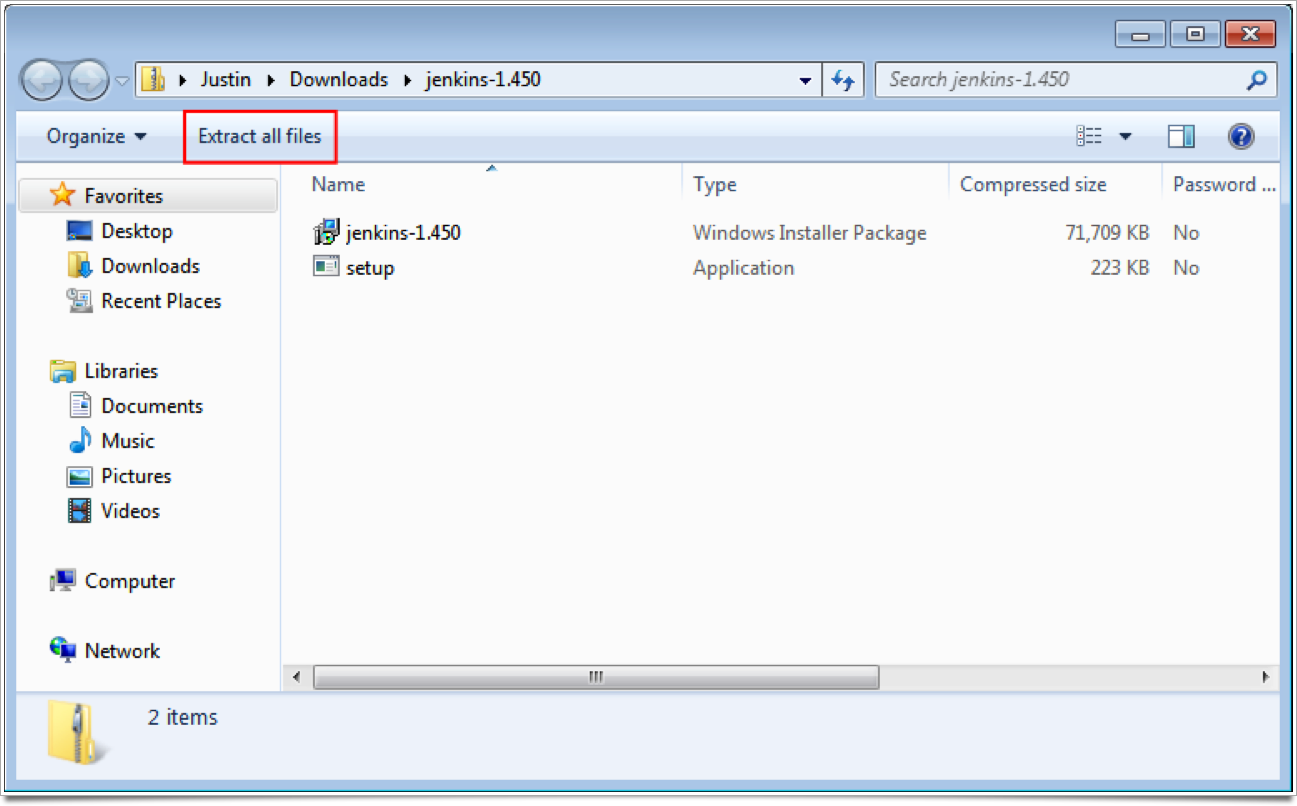
Once the zip file is open, Click Extract all files from the menu.
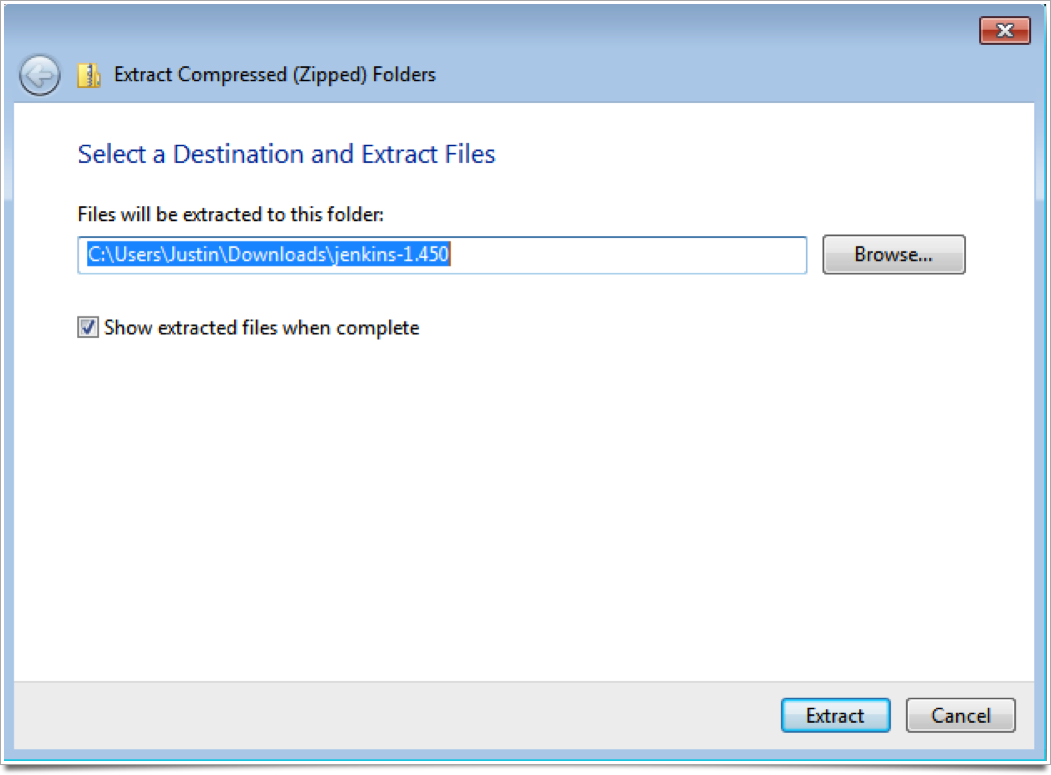
You will now see the Extract zip file dialog, Click the Extract button to extract the files to the default location.
Phew! That’s the download complete.
Setup
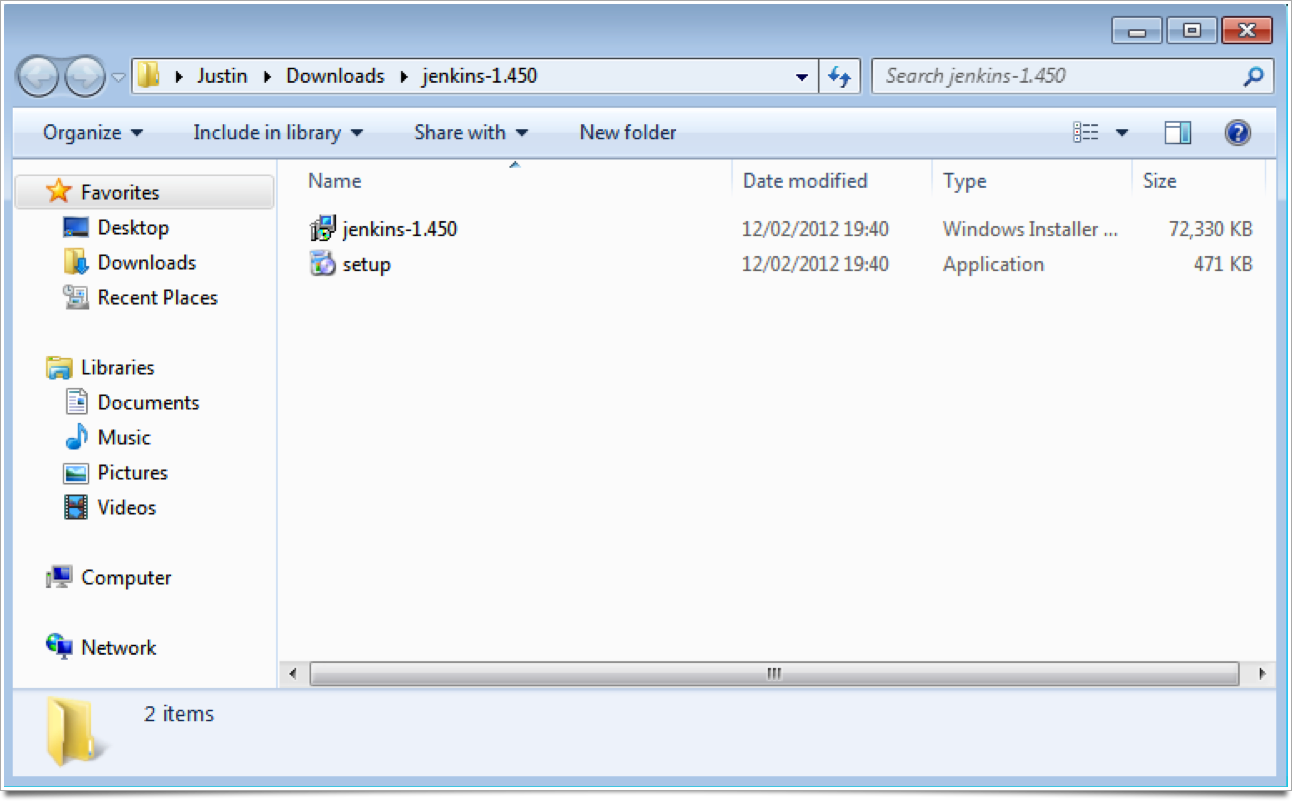
Finally we can run the Setup program. Double click setup to run the program.
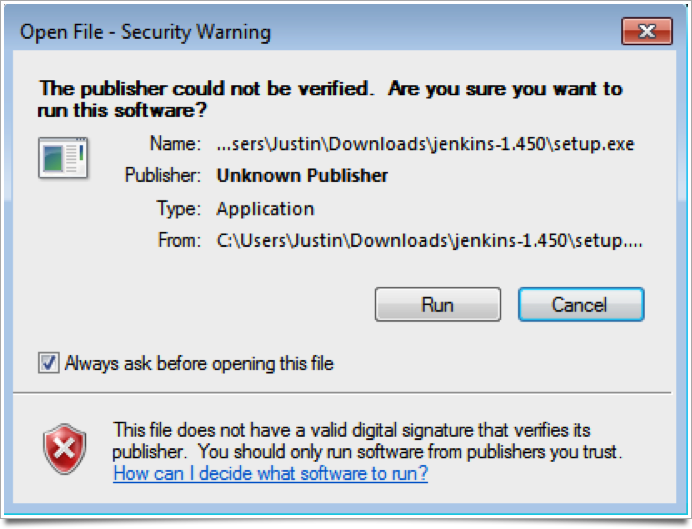
Windows will show a Security Warning to make sure you trust the publisher of this software. Click Run to begin the installation.
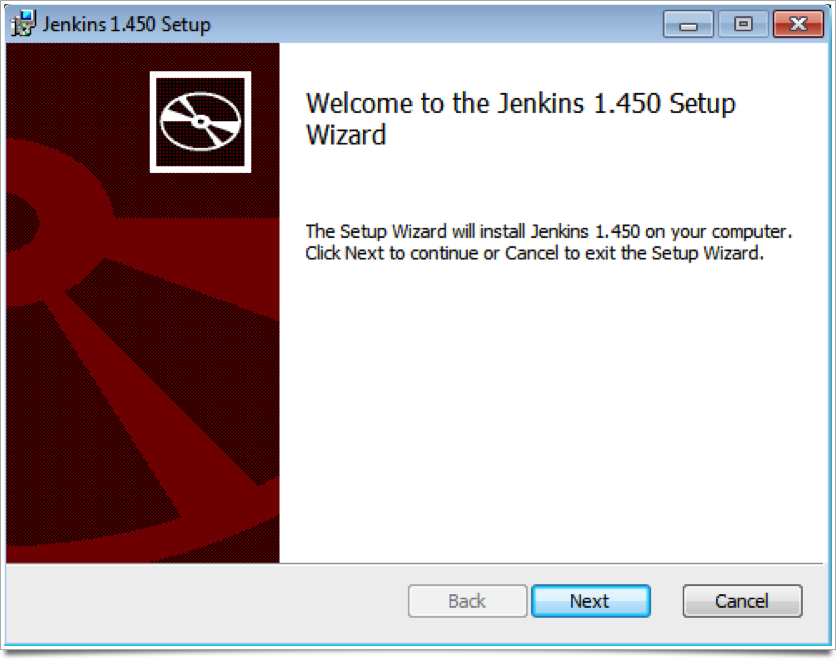
You will now see the Jenkins installation wizard. Click the Next button.
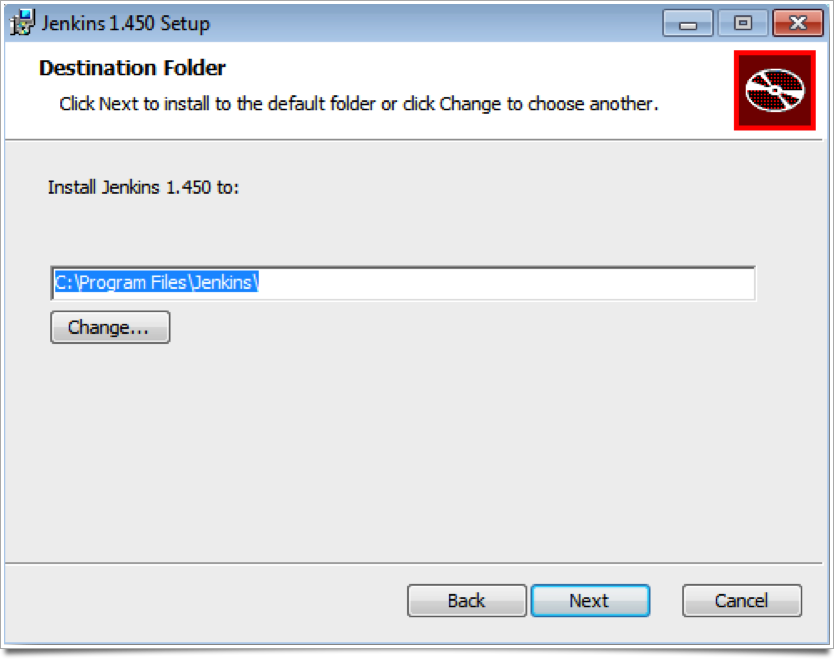
The wizard allows you to change the installation folder. Click Next to accept the default folder.
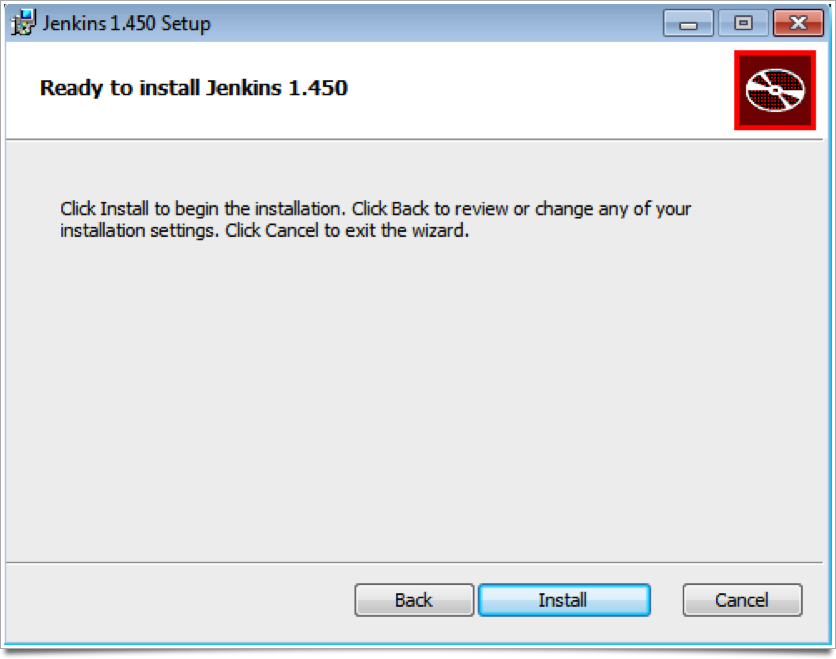
You are now at the final page of the setup wizard. Click the Install button and the installation will begin.
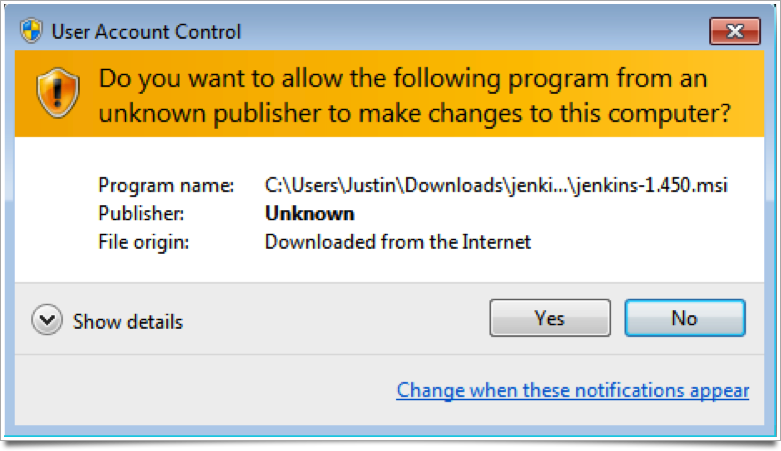
On Windows 7 the User Account Control may kick in to ask permission to run the installation. Click the Yes button to continue.
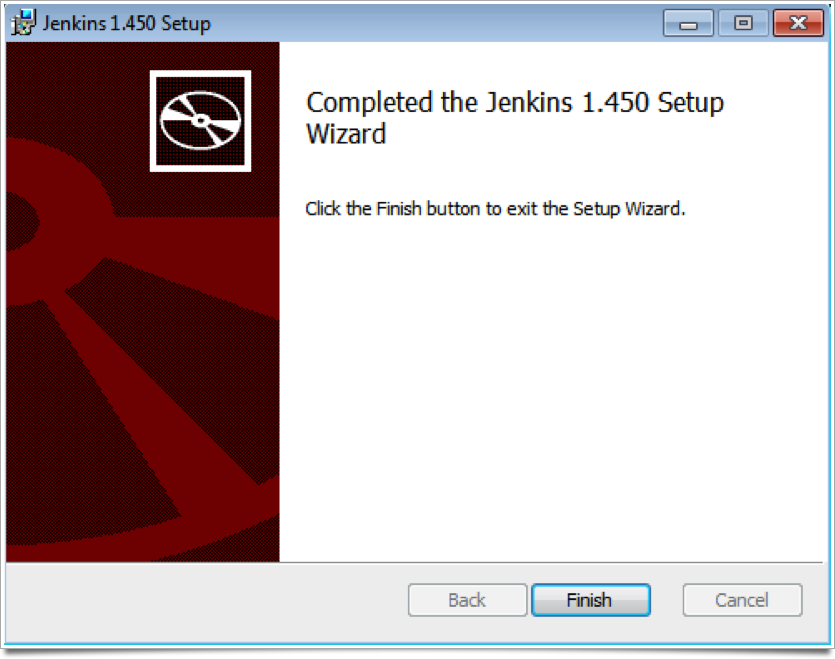
The installation wizard will now copy Jenkins onto your machine and display a message upon completion. Click the Finish button.
The install wizard will now open the Jenkins web page.
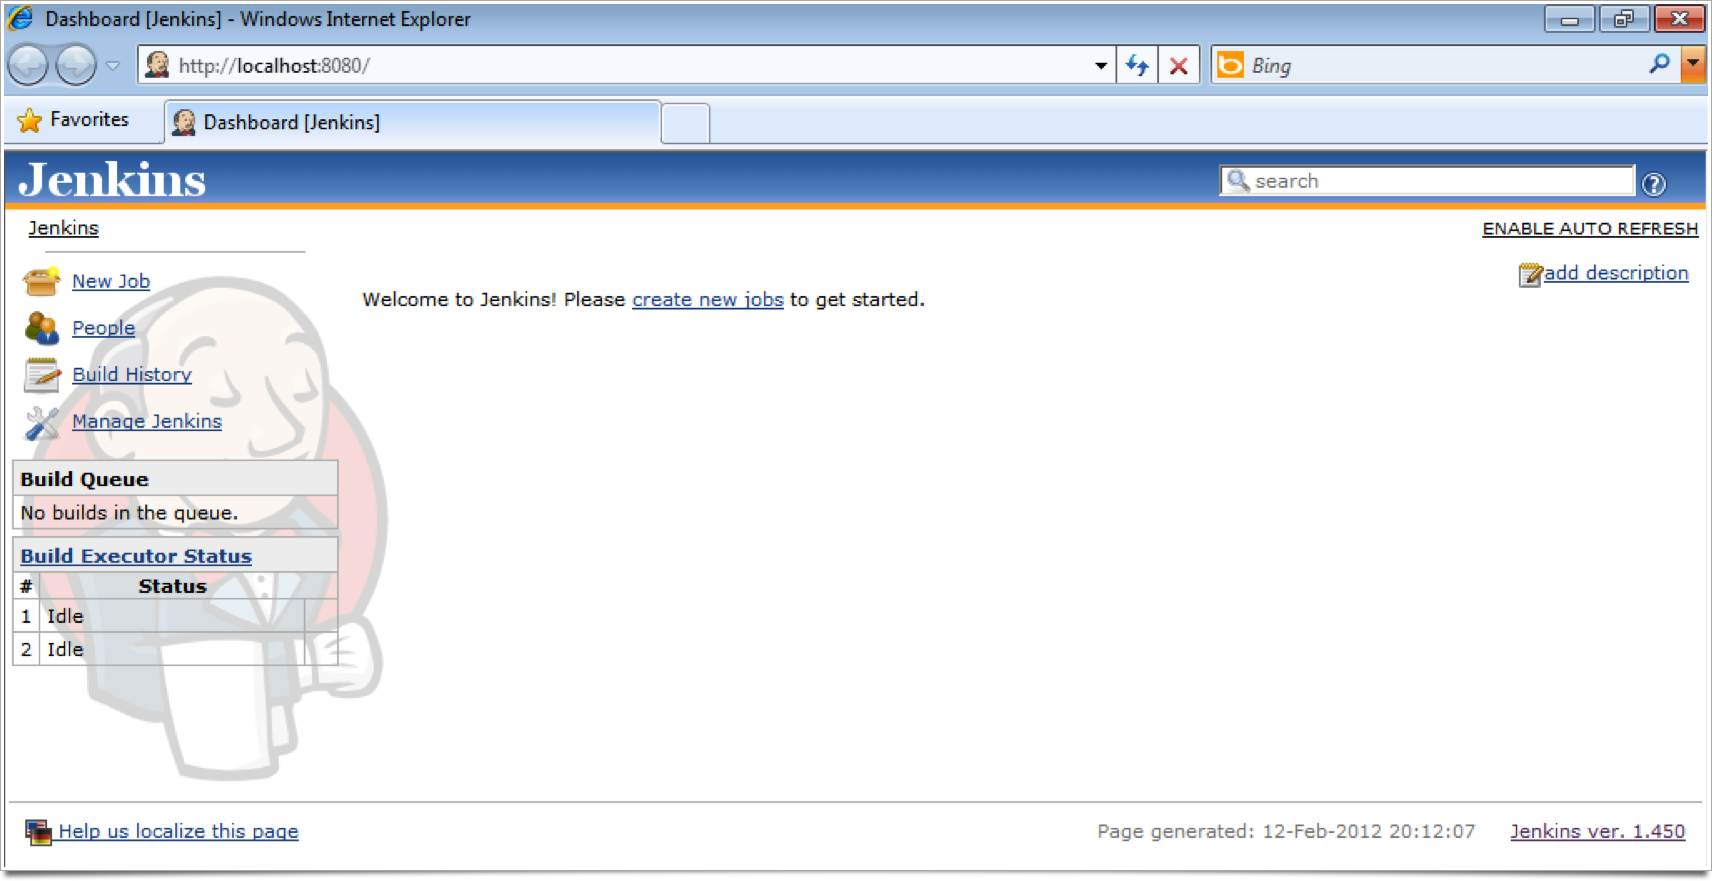
Congratulation Jenkins is now installed on your machine!
